

This is the first installment in a little series discussing my exploits in console modification, maintenance, and everything else in between. My ultimate hope is to spread some knowledge and help you avoid all the mistakes I made as a beginner when it comes to DIY. As the title states, the first topic I want to bring up is the scary, yet ultimately simple task of painting a console.
You've seen the pictures online, maybe you've even been the victim of it yourself, a case mod gone wrong. In fact there are few things that anger the gaming gods more than haplessly lathering on paint to a poor defenseless console. The end result is a monstrosity of a system, which you're forced to hide from the world all a la 'The Hunchback of Notre Dame.' Well fear not Quasimodo, because I'm here to tell you there is a better way and we'll have you painting again in no time!
Naturally like 99 percent of those who have embarked into the great unknown of painting a system, I failed on my first try too. It was a Sega Dreamcast, the color was black, and the end result was shambolic to say the least. Now in a project like this there are a million things that can go wrong, the weather, prep work (or lack thereof), your painting technique, being an idiot, etc etc. Fortunately I had the market cornered in all of this during my first attempt. Yet with a bit of persistence and some trial and error, I developed a system that I believe is full proof.
Now before we get into the how to, I just want to stress the fact that this is a project of patience. You can have the best materials at your disposal but if you think you can crack out a job like this in an hour or two then you are sorely mistaken. I highly advise you to devote an entire weekend to panting a console. In fact, before you even decide to paint the real thing, practice your spray technique on a few items you don’t care about (loose bits of plastic, random cardboard pieces etc). You want to be comfortable in your technique and build up your confidence. Check out this link: https://www.youtube.com/wat... for a straightforward way of spray painting. Bottom line, you're dealing with relatively expensive tech, show it some love and respect!
So lets get to it! Here's the required materials for this project:
Console (duh!)
Cleaning solution (light dish soap / Windex)
VHT Vinyl Dye (more on this later)
Masking Tape
Dust Mask
Optional: Fine Grade Sand Paper (400 & 600 grit)
Lets Begin!
1. For the purpose of this tutorial I suggest a monochrome approach. Multiple colours, designs, etc etc are a bit beyond the scope of this guide. That being said, go ahead and disassemble your console. Be sure to tape over any sort or logos, stickers, and designs that you want to keep.
2. Completely optional step here! If you are painting a console that has its fair share of scratches and you want to remove them, break out the sand paper if not, off to the next step. Now I'm going to assume you weren't raised by wolves and your console has some average wear and tear, nothing major. Most of us out there can get away with using a combination of a 400 and 600 grit sandpaper. Before we even allow the sand paper to come into contact with the plastic, drop a tiny bit of water onto the areas you plan to sand. Now beginning with the coarser sand paper (lower the number the coarser it is), very gently make circular motions on the disassembled plastics pieces. When you're finished you may notice a very very faint swirl pattern, don’t fret we're going to get rid of this. Simply repeat the process (water, then sanding) with your finer grade paper and you should notice that the swirl pattern is all but gone. The end result is a surface that’s as smooth as a baby's bottom.
3. We need to clean the console off now now and by that I mean laying on the elbow grease. Remove every bit of dust and residue from the system. Make sure that after you clean the console with whatever solvent you're using, you wash it again with water. Many cleaning products often leave an invisible film that will ruin the application of our paint, a bit of water will take care of this. Now that you're done cleaning, simply allow the system to air dry overnight. Don’t use any towels or rags as this can leave tiny fibers that again can ruin our paint job.
4. Okay then, the moment you've all been waiting for, its time to paint! But before we do that, allow me to introduce you all to the wondrous product that is vinyl dye.
Not a spray paint in the traditional sense, vinyl dye is its own beast. Whereas spray paints sit on top of whatever they are applied to, vinyl dye seeps into the plastic, bonding with it. The benefits to this are apparent from the get go, vinyl dye does not not chip or peel like spray paint does. It does not require an undercoat, nor does it require a clear coat. Also when it comes to raised print and other plastic details, vinyl dye does not mask them whatsoever like a spray paint would. In the end, if done correctly you're looking at a retail finish with half the effort when compared to spray paint!
Okay, okay, no more schmoozing about vinyl dye, back to the project. Assuming you've watched the how to video on painting, your goal is an even coat with the overlapping technique. Remember always spraying at an angle never horizontally we don’t want any drips to ruin our finish! When it comes to vinyl dye, in my experience three coats will do the job for any piece of plastic. Remember, allow a good ten minutes to pass in between coats and be sure to get all of your coats done within the hour. Once the panting is done, allow your console to dry sufficiently for a good 48 hours. This may seem as a bit of overkill as vinyl dye does dry rather quickly, but better safe than sorry.
5. At this point all we have to do now is reassemble our console. We're finished! Bask in all the glory of your newly painted system!
There you have it, a full proof guide on how to paint a console the right way / my way. Now again I cant stress the importance of practice and patience when going through with a project like this. So long as you plan ahead and have a steady hand, I'm confident that you'll be able to pull this off. The most important thing is establishing that foundation for yourself, once you have it, you'll be able to tackle harder more complex projects, the skies the limit!
Microsoft announced its financial results for Q3 of fiscal year 2026, including an update on its gaming Xbox business and more.

Not looking good. Hopefully Asha Sharma is able to turn Phil’s disaster around.


To me it's still quite remarkable how they can cash-in 5.3bn in revenue in a single quarter, since their hardware is basically dead.


The charity event will be streamed live from Gamescom in August.
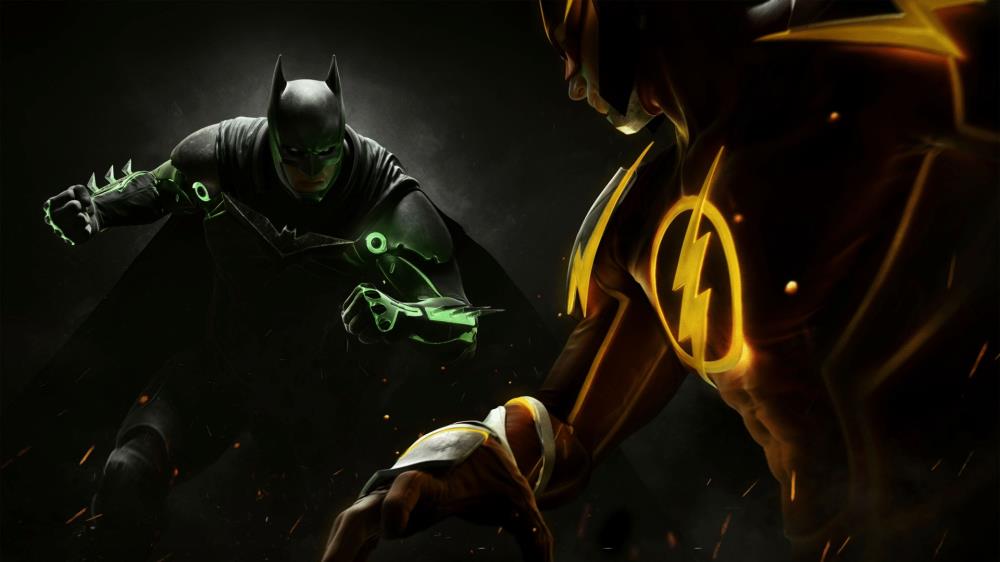
Thanks to the slip-up of an artist working on the title, we now have more evidence that a new Injustice game is in the works.


